


GUEST POST BY CHRIS MORTON
We’ve all seen a huge rise in drone photography over the last couple of years, and the quality of work some photographers capture is simply amazing.
If you want to improve your aerial shots, learning some drone photography 101 is a good place to start.
In this article I cover the pitfalls I’ve encountered, along with some tips and best practices to help you avoid making costly beginner mistakes. I will also share techniques and camera settings for the more advanced photographers and videographers who’re looking to step-up their drone photography game.
Purchasing Your Drone
Drone photography can be tricky, and you’ll find out, pretty quickly, if it’s not for you. A lot of people who buy drones give up almost immediately. That’s why you should be judicious when purchasing your first. Start hunting online for bargains on second-hand drones, where you can save almost fifty percent off the retail price.
There are a few things to take into consideration when buying a drone. First, you’re definitely going to crash it a few times. So, it’s better to learn how to fly your drone from the beginning. When you’re first starting out, I would recommend getting something in the mid-price range because of the likelihood you’ll crash. I’ve had over half a dozen crashes and although most have been minor, they were still expensive to fix.
The portability of your drone is also important. The bigger and bulkier, the more likely you’ll leave it at home. Trust me, I speak from experience. That’s why I use a DJI Mavic, and love that it folds up to fit into a camera bag.

Preparing For Takeoff
Now that you’ve got a drone, it’s time to prepare for flight!
First and foremost, make sure you follow the civil aviation rules in your country and register your drone if required.
Next, take some time to familiarize yourself with the controls and leave the settings on beginner mode while you learn. The DJI drones have flying tutorials built into the app, so you can easily learn without even leaving the ground. In fact, it allows you to fly a virtual drone using the controller and your cell phone.
To further your skills, find drone meet-ups online to meet other drone photographers. It will allow you to learn from more experienced pilots (as well as be more social in the drone photography community!)
Planning Your Shots
Once you’re familiar with operating your drone, start thinking about what you want to photograph.
Instead of wandering around, hoping to find a good subject, have an idea about what you want to shoot beforehand. Personally, I take an aerial landscape photographer’s approach. I search for hashtags and locations, and I look at what shots people are taking in the places I’m traveling to.
Then, I try to capture it with my own style of photography. So if you’ve seen something good, think about how you can improve upon it?
Finally, I look at Google Maps’ satellite view and plan my shots according to the time of day, lighting conditions, and weather.
Check The Weather
Once I wanted to get a shot of a particular island in New Zealand, and because I didn’t have access to a boat I had to shoot it from land. Using Google Maps, I calculated the distance, which was 3.5km (2.1 miles), and I knew the wind direction, weather conditions, and the forecast for the day. If the wind was too strong, I would never attempt flying that distance and would plan my shoot for another day.
When they’re in the air, DJI drones will warn you of high winds and instruct you to land as soon as possible. This helps avoid unruly conditions and the loss of your equipment.
Flying Tips
So you have your drone, you’ve done your prep work, and you’re ready for takeoff! There’s a lot to know when it comes to flying your drone, but here are a few key tips to remember.
GPS Mode
Always fly in GPS mode to avoid losing your drone. It’s a quick and simple tip that can be a lifesaver when your drone flies out of sight!
Flying Over Water
When flying over an open body of water like the ocean, always fly into light onshore winds. If you’re fighting strong winds to come back to shore, your drone will have to work harder and deplete the battery until it’s R.I.P. drone. Always check your battery meter and know the limitations of your equipment.
Another important side note – lithium batteries hate cold weather and die much faster in chilly conditions. So, plan accordingly!
Watch For Obstacles
Avoiding obstacles is pretty self-explanatory, but what about birds? My drones have, unfortunately, encountered a few bird strikes. That’s because some species of birds are extremely territorial and will try to attack drones. If this happens, fly straight up! Birds can’t fly this way, so it’s impossible for them to chase your drone. I’ve also heard of people using stick-on eye decals
Keep Your Cool
If you get into trouble, don’t freak out! Instead, stay calm and think of a solution.
I once nearly lost a drone filming dolphins off the east coast of Australia when the wind changed and my battery was already at fifty percent. Flying against the wind I realized, pretty quickly, that flying against the wind meant there was a good chance I’d lose my drone. After fighting the headwind and realizing the drone wasn’t moving, I had to think of a different solution.
I reassessed the problem, looked at the wind direction and velocity, and decided to fly as low as possible where the cliffs and trees provided a windbreak. I then changed direction and flew crosswind to land safely moments later.


Advice on Shooting Still Photographs
If you’re looking for technical advice on shooting still photographs with a drone, then I’ve got you covered too!
Composition
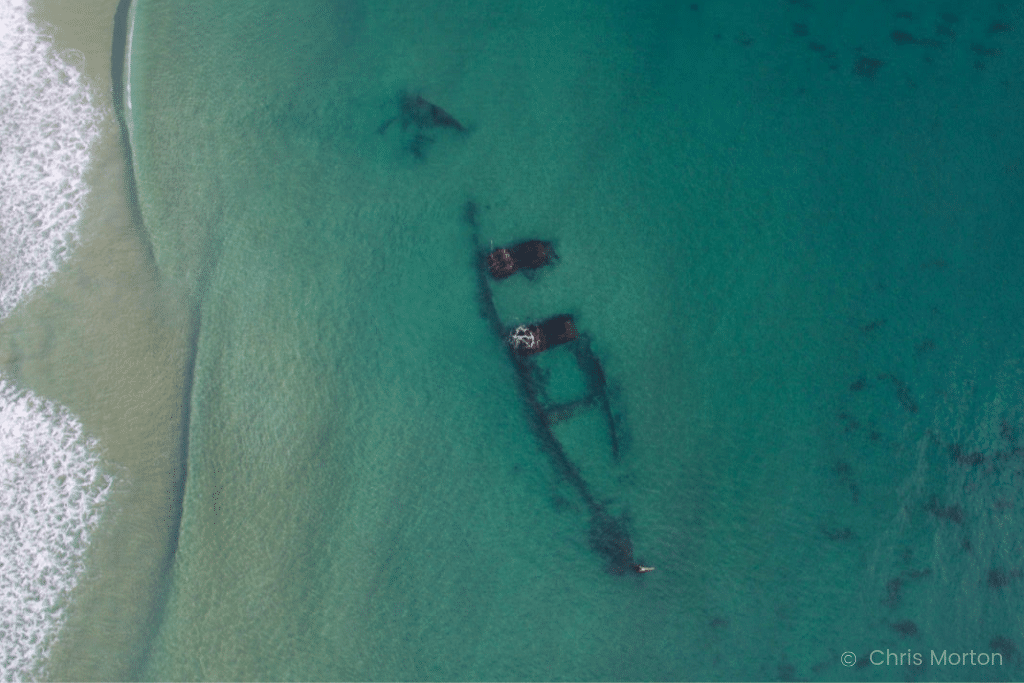
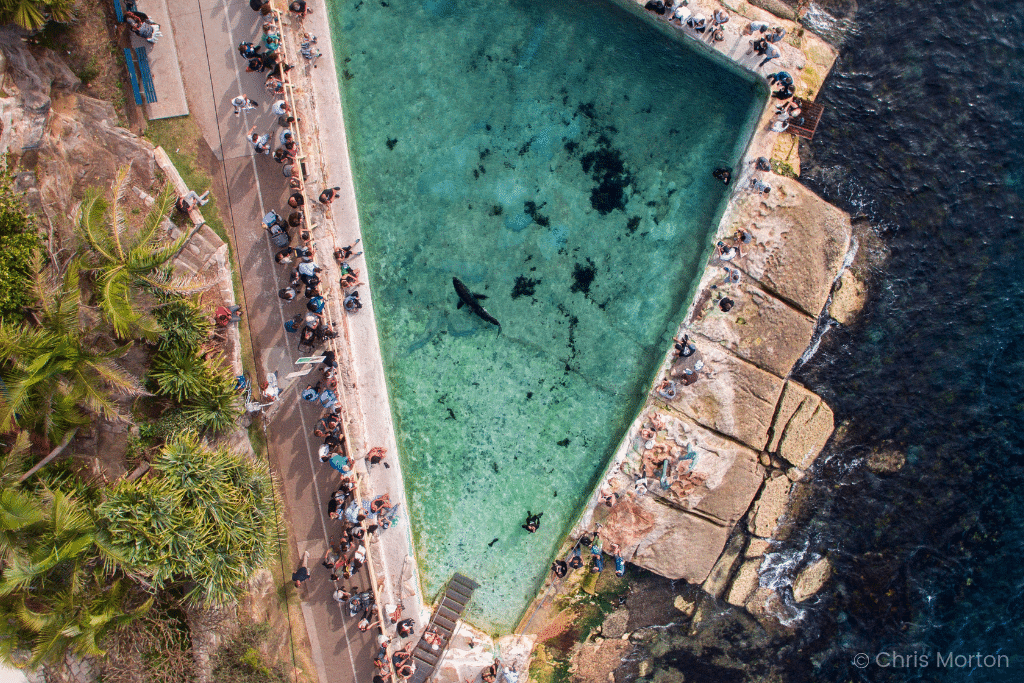
I shoot a lot of top-down shots, and I like this composition the most. Here are some of my best tips to ensure you get ideal results, every time.
• Always shoot in RAW (this gives you more control in editing and better print quality)
• Use Natural Density filters whenever possible (I use PolarPro Cinema Series)
• Shoot manual, use the tripod setting, and bracket in post
• Utilize the HDR settings
• Use a histogram and zebras to get perfect exposure
• Download Adobe LR Mobile to edit on vacation (free version)
Bracketing
Okay, let me explain. Bracketing is when you take multiple shots of the exact same frame. When you do that, you can use Adobe Lightroom or Photoshop to stack them on top of each other and edit them together.
Why is this beneficial?
If you shoot in manual, you can take multiple shots with different exposures to maximize the dynamic range of your image. Depending on the time of day and the lighting conditions, certain parts of your image may look better if they’re exposed differently.
Bracketing lets you achieve this easily. Say, for example, I’m shooting a white sandy shoreline at midday. If my exposure is too high, the white sand will be blown out. Or if my exposure is too low, the water will appear darker, less clear, and with more reflections.
This technique is particularly useful when shooting sunrises, clouds, and sunsets. Some DJI drones have a setting called auto exposure bracketing that does all of this automatically. However, I change the settings myself because I think it gets better results. There are tons of YouTube tutorials on how to accomplish this if you want to learn more.
Portrait Mode
This is an awesome feature on the Mavic you might not know about. You can actually rotate the camera and capture images in portrait orientation! I capture a lot of my shots this way because the format is favored by Instagram and they look great when printed and framed.
Tripod Mode, Slow Exposures, and Time-Lapse
The Tripod Mode uses GPS lock to hover in the exact same spot, and allows you to take great slow exposure photos. It’s particularly good for moving objects, water waves, etc. You can even set a long exposure and bracket it for best results!
If you want to do a time-lapse of a busy scene, the Tripod Mode will produce amazing images. In addition, including a warp stabilizer effect in post-processing will improve your overall image. Windy conditions may still be noticeable, so avoid breezy days.


Videography
If you’re someone that shoots a lot of video, then I’ve got some great ideas for you too!
I like to shoot cinematic sequences of really picturesque locations. And, I’ve found that controlling camera movement, timing, and setting is the best way to achieve the desired results.
Settings
I always shoot 4K UHD 3840 x 2160 resolution at 24fps 1/50 shutter speed. Note that ND filters may be required, depending on the lighting conditions. Additionally, I shoot in the cine-like profile and have my settings dialed- in to my preferences. Then, during filming, I mostly use auto white balance and change the style settings as follows: -2 sharpness, -2 contrast, and -2 saturation.
Personally, I use the file format .mov because I’m a Mac user, but .mp4 is better for Windows PC. And, I set my tilt controls to get a really smooth, fluid, head style tilt up and down.
Slow Tilt-Up Reveal
A nice, slow tilt-up reveal looks really cinematic, especially over water! You can see a few examples of that in the video below. So, harness your inner Michael Bay and get out there!
Don’t Use Auto Exposure
One thing that will make your footage look totally amateur is auto exposure. If you shoot in auto, the changing light conditions will be visible as the exposure changes to compensate. This looks terrible, so don’t do it!
Avoid Lens Flares
Don’t get me wrong – I’m a big advocate of lens flares – but, they look terrible on drones and cell phones. This is because those cameras don’t have an adjustable aperture with blades, which give those nice, cine-prime hexagonal or circular cinematic flares. It looks totally amateur on a drone unless you’re flying something expensive, in which case, you don’t need this article.
Use Dolly Zoom In Post
A popular cinematic technique is to use a dolly zoom or vertigo effect. You can accomplish this in post-processing by putting a 4K video on a 1080p timeline and zooming in as you push out. The end result looks really great!
Color Grade Your Footage
I grade my footage in a REC 709 custom LUT, which pushes a slightly desaturated orange and teal. Then, I edit in Adobe Creative Suite Premiere Pro/After Effects for my f stop.
That’s pretty much it!
Now that you’ve mastered the basics of drone photography 101, it’s time to shoot your own outstanding aerial photographs! If you’d like more tips and advice, check out my Instagram @csurfnet and feel free to message me with questions.
Happy flying!
You May Also Like:
» Photography Tips From Exceptional Experts
» Beginner’s Guide To Editing In Lightroom
» 10 Tips For Better Photography Composition

Very informative content. Thanks
Good article! I’ve seen features on real estate websites and apps like Zillow where they have the option for a 3D tour of a house. Do they use drones to shoot that, do you know?
I’m not an expert, but I believe the way those 3D tours are shot is with a camera on a tripod placed at various points throughout the house so viewers can “jump” to the different locations around the home. Shot with a wide-angle lens, it’s a great way to “see” the home if you’re not physically there. But, again, I could be wrong. 🙂
It’s tough to keep your camera or smartphone stable in your hand while photographing your cat. If you mount a camera on a drone, the problem exacerbates.
Very true. It’s fortunate drone technology has advanced to allow for clear images. Photography technology gets better and better by the day! 🙂
Thank you so much for explaining drone photography and settings to get perfect shot. Im new to real estate photography and still learning about drone photography and i found your article really helpful and fun to read. 🙂
Of course! I’m so glad you found it helpful! 🙂