


Trying to figure out how to use a DSLR camera can feel as impossible as trying to figure out how to launch a space shuttle. With so many buttons and switches, it’s hard to know where to start.
But it doesn’t have to be complicated!
Here are the three basics you need to know to stop shooting in Auto and start shooting in Awesome!
What is a DSLR camera?
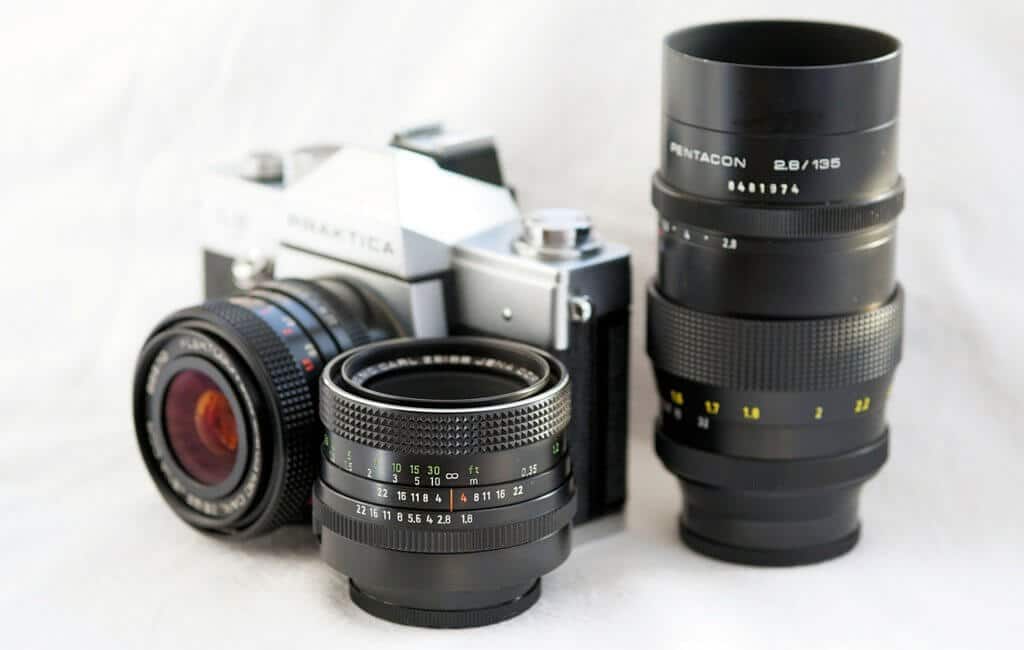
Unlike a point-and-shoot, digital SLR (or DSLR) cameras have a larger sensor and the option to switch out lenses. That lens versatility is pretty huge. It gives you the ability to change zoom ranges and more, according to whatever situation you’re in.
Need to capture the scope of an expansive landscape? Pop on a wide angle lens! Want to show the tiny details of a single flower? Use a macro lens! Shooting wildlife? Try a longer zoom lens!
It’s important to note that there are two different types of sensor sizes in DSLR cameras – full frame and cropped frame. Full frame cameras allow you to shoot everything in the field of view. Downside – the camera bodies and their specialty lenses carry a hefty price tag. By contrast, cropped-frame cameras are much cheaper and allow you to use any type of lens. Downside – as the name suggests, they crop your field of view so you only capture a portion of what you see.
However, for the average Joe a cropped frame is more than adequate for everyday shooting. And with their price points becoming more affordable (like Canon’s Rebel or 80D), novices are beginning to opt for them over the less capable point-and-shoots.
Shooting Modes
Let’s step away from shooting on Auto for a moment. Scary, I know. But trust me, you’re going to love it!
The main thing to understand with shooting on a DSLR camera is the difference between shutter speed, aperture, and ISO. Don’t worry if that sounds like a lot to remember, you’ll be an expert by the time you’re done reading this.
The first question you need to ask yourself is what’s the priority in your shot? This will dictate whether you want to choose your Shutter Priority or your Aperture Priority.
If you’re wanting to freeze an object in motion, capture the blur of movement, or shoot in low light conditions (like night photography), then Shutter Priority is the name of the game. If you’re wanting to create drama by having your subject be the only object in focus, or if you want to ensure everything in the shot (like a landscape) is in focus, then Aperture Priority is where you’ll want to be.
Depending on which one you choose, your camera will automatically adjust the other setting (along with things like your ISO. More on that in a minute).
So what are all the confusing numbers that accompany those settings? Let’s dig in.
Shutter Speed
In essence, shutter speed controls how long the shutter remains open (and therefore how much light hits the camera’s sensor). This is called your Exposure, and it’s measured from whole seconds (indicated by “) to thousandths of seconds (indicated by 1/xxxx). This not only dictates how bright your photo is, but also how much motion you capture.
In order to control your shutter speed you want to set your camera to Shutter Priority mode. This is indicated with TV for Canon and S for Nikon.
If you want to freeze a subject in place, you should use a faster shutter speed. This will stop your subject in its tracks, as well as allow in less light (making it great for bright situations). Examples would be capturing a humming bird’s wings in flight or any kind of sports photography.
By contrast, if you want to portray a sense of motion you should set a lower shutter speed. This will create blur for moving objects while stationary ones remain crisp. Examples of this would be flowing water or a trail of headlights on the highway.
Expert Tip:
With slower shutter speeds, any movement on your part will blur the photo. Consequently, the use of a tripod is often necessary. A good rule of thumb is to never lower your shutter speed beyond 2x the maximum zoom of your lens. For example: If I’m shooting on a 16-35mm lens, then I wouldn’t want to adjust my shutter speed past 70 without a tripod (because 35 x 2 = 70)
In addition, because a slower shutter speed lets in more light, it shouldn’t be used in bright situations. Otherwise, your photo will be blown out (i.e. appear all white).

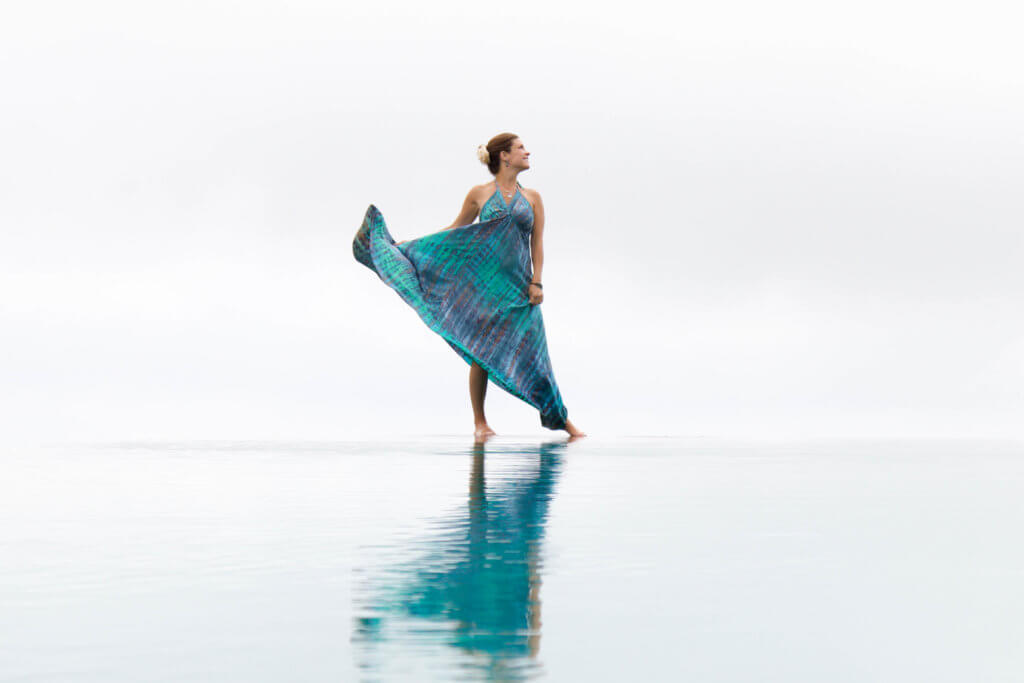
A faster shutter speed capturing the dress in mid-air.
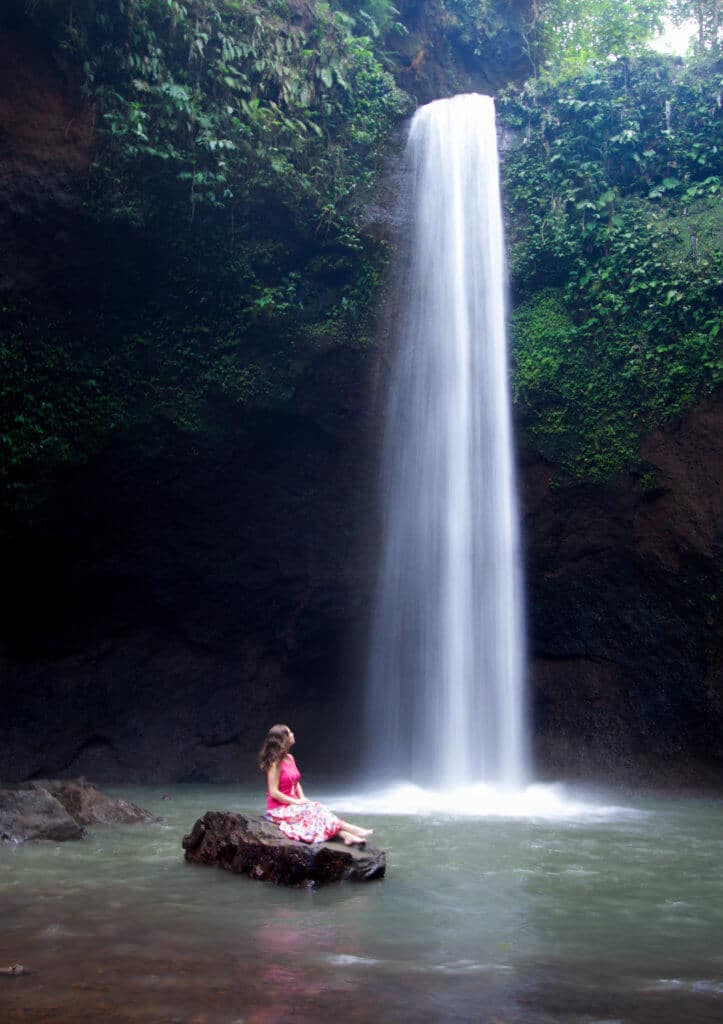
Slower shutter speed capturing the movement of the water.
Aperture
Simply put, aperture refers to the opening in your lens. When you take a picture, that hole opens up and allows your camera’s sensor to see the image you’re trying to shoot. So when you change the aperture, you’re essentially changing the size of that opening.
In order to control your aperture you want to set your camera to Aperture Priority mode. This is indicated with AV for Canon and A for Nikon.
You’ll hear aperture referred to as the “f-stop” and it’s measured by the chart below. A smaller f-stop indicates a larger opening (thus, letting in more light), and a larger f-stop indicates a smaller opening (thus, letting in less light.) Confusing, I know. I’d love to thank whomever came up with that.
An easy way to remember it is the smaller the f-stop number, the smaller the depth of field (meaning less is in focus). The larger the f-stop number, the larger the depth of field (meaning more of your photo is in focus).
So when do you want to mess with aperture? One of the big reasons is when you want to adjust your depth of field (which controls the amount of background blur). The smaller your f-stop, the more background blur you’re going to get. This is great when shooting things like portraits or macro photography. A larger f-stop means most, if not all, of your background will be in focus. This is helpful when shooting things like landscapes.
Expert Tip:
Because the aperture controls the size of the opening to your sensor, a smaller f-stop will naturally let in more light. If you’re shooting on manual, you may want to compensate by changing your shutter speed. If you raise one, lower the other. This will essentially balance out the light hitting your sensor.


Shot with a smaller f-stop, resulting in a shallow depth of field (and thus, background blur).
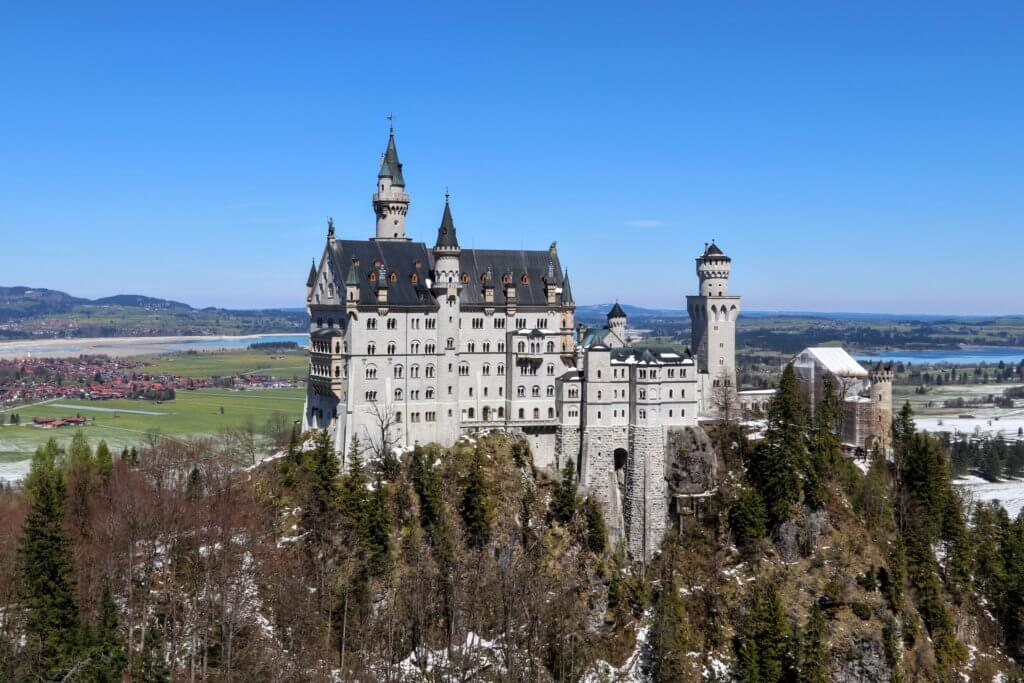
Shot with a larger f-stop, resulting in a deeper depth of field (and thus, more area in focus).
ISO
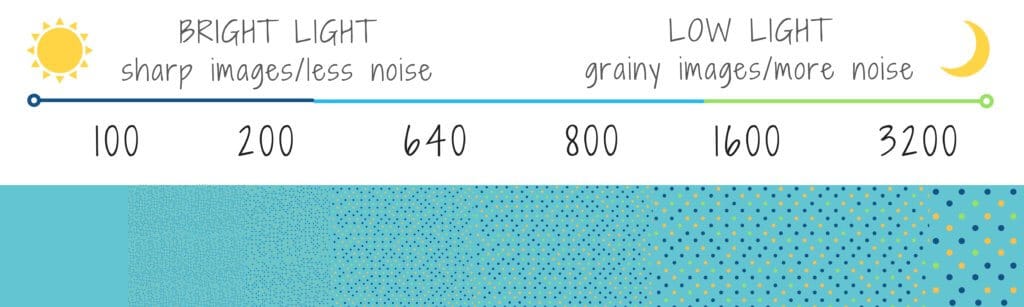
In the most basic terms, ISO is the setting that will make your pictures lighter or darker. Simple enough. So the higher your ISO, the brighter your photos will appear. This is great when you’re shooting in low light situations and you’ve done all you can with slowing your shutter speed or lowering your aperture.
However, there’s a downside. The higher your ISO, the grainier (or noisier) your images will appear. So ideally you always want to keep your ISO as low as possible while still achieving the brightness you need.
Your camera’s Base ISO is most likely around 100-200. So try to stick as close to that as you can to produce the highest quality images.
Expert Tip:
A common misconception is that you can simply go into editing software (like Lightroom) to brighten your photos later. And that certainly works! However, adjusting the ISO when shooting will almost always produce a clearer image than adjusting the exposure in editing.

Shot at dawn with extremely low light at a high ISO. Notice how grainy the horizon and blue water is. However, without a high ISO the scene was too dark to capture because I couldn’t slow down my shutter speed enough to let in adequate light.
And just like that, you’re a photography pro! Knowing these three basic principles of how to use a DSLR camera will give you more control over your photos.
And if you’re ever confused as to where you should start, don’t be afraid to cheat!
Take a shot on Auto and then look at what camera settings were used. You can do this by hitting Play, and then going into the Info for that image. Once you know what the shutter speed, aperture, and ISO were, you can decide how you want to tweak it. Need a longer exposure? A shallower depth of field? The image to be a little brighter? From there you can adjust your camera settings accordingly and voilà!
Suddenly your images will go from forgettable to fabulous!
You May Also Like:
» 10 Tips for Incredible Photography Composition
» Must-Have iPhone Photo Apps
» The Ultimate Travel Photography Gift Guide

This is looking good and has awesome information for me as a blogger.
I’m so glad you found it helpful!