


When it comes to photography, there’s a lot to learn. From understanding how to operate your camera to basic composition rules, a stunning image doesn’t just happen by accident.
Like any skill, learning how to become an amazing photographer takes practice!
Fortunately, I can help with some insightful tips from expert photographers I greatly admire. Their advice is invaluable and will help propel you towards success in your own photography endeavors.
1. Dare To Fail
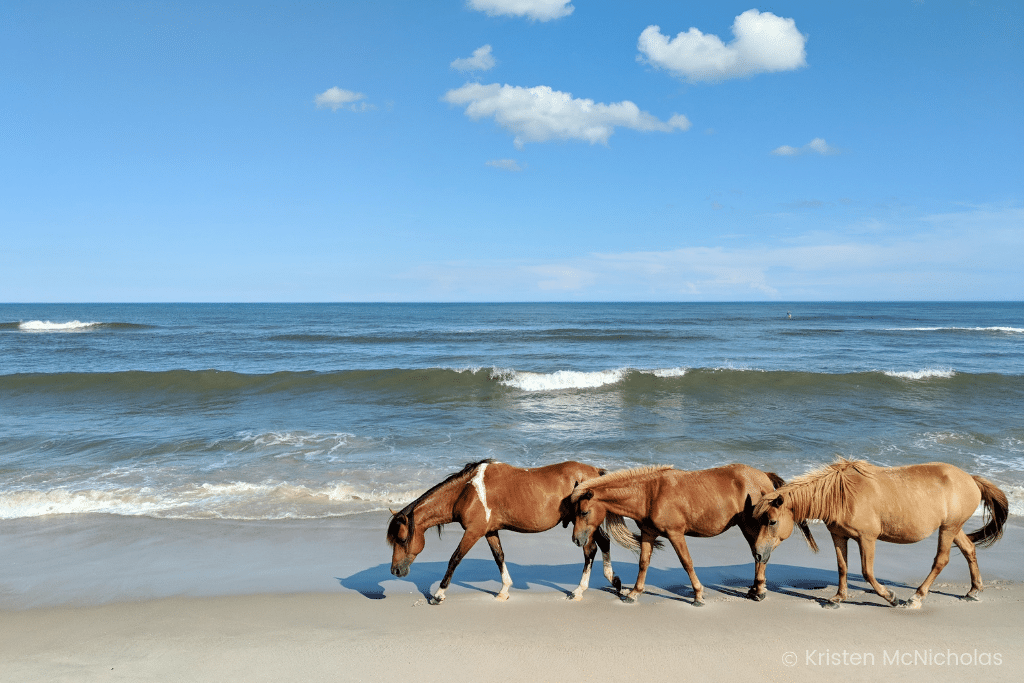
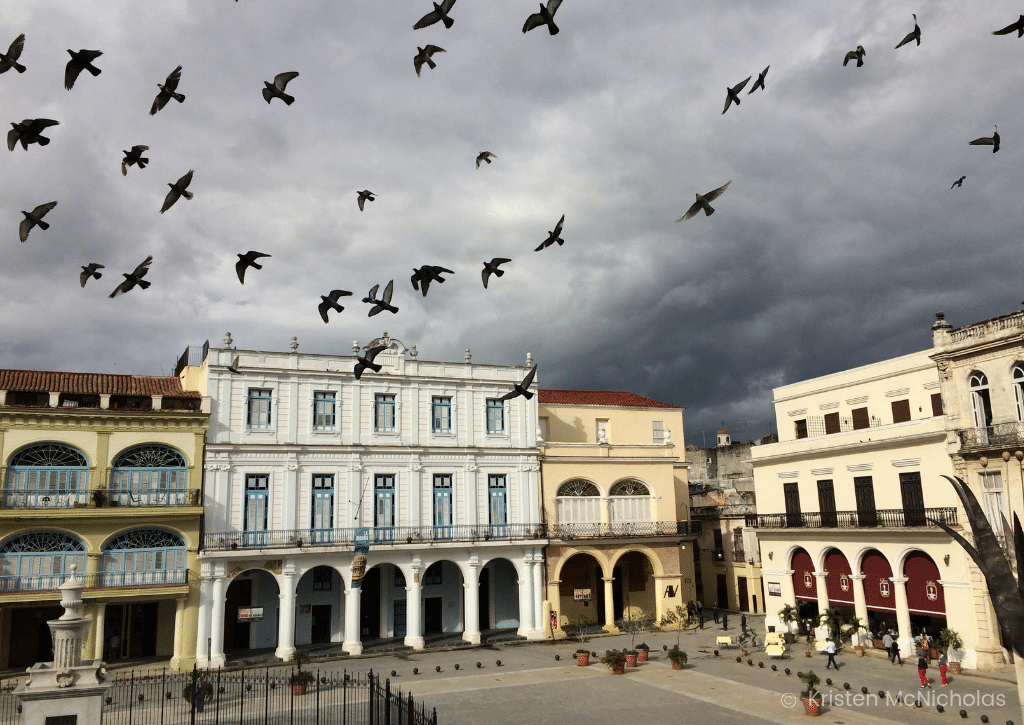
Kristen McNicholas is an associate photo editor for National Geographic Your Shot, in addition to having her own photography website and an impressive Instagram.
I also credit her for giving me a huge boost in confidence with my own photography skills. After she featured one of my photos in the National Geographic community, it was highlighted by several other publications. Unbelievable! And her advice to other photographers is just as inspiring.
“My favorite and first tip is to never let yourself get in the way of making photographs in the first place. As creatives, we tend to inherently have self-doubt and are in constant conflict, with thoughts like, ‘I’ll never be as good as blah blah blah’. It’s, of course, easier said than done. But, what photographers must remember is that making photographs takes practice just like music or athletics. How will you make your best photos if you hold yourself back from practicing in the first place? Get out there, learn from your mistakes, and your photos can only keep improving!
On a technical level, first and foremost, know your camera! Doesn’t matter if you’re a mobile photography expert or have state-of-the-art equipment. You must know all the bells and whistles and basically, be able to adjust your settings with your eyes closed. Yes, that means more practice (and probably some hanging around, playing with your settings and… practicing).
Once you’re not in your own way and, hopefully, know your equipment, compositionally craft before you make the photo. By that I mean inspect your edges for any distractions before pressing the shutter. Could you eliminate a weird tree branch by inching your camera down a bit? Make sure you’re not unintentionally cutting off the feet of your subject in their full body portrait (think of those #OutfitoftheDay selfies where they cut off their $200 shoes?!) And could your frame be more balanced if you shifted your character off-center to give a better sense of place with your background layer?
Be easy with yourself and treat every new photo as a learning experience. And, as my favorite professor and mentor says, ‘Dare to fail.'”
Some of my favorite advice! The way you see the world is beautiful and unique to you, so don’t be afraid to share it. After all, practice makes perfect!
2. Know Your Settings & Equipment
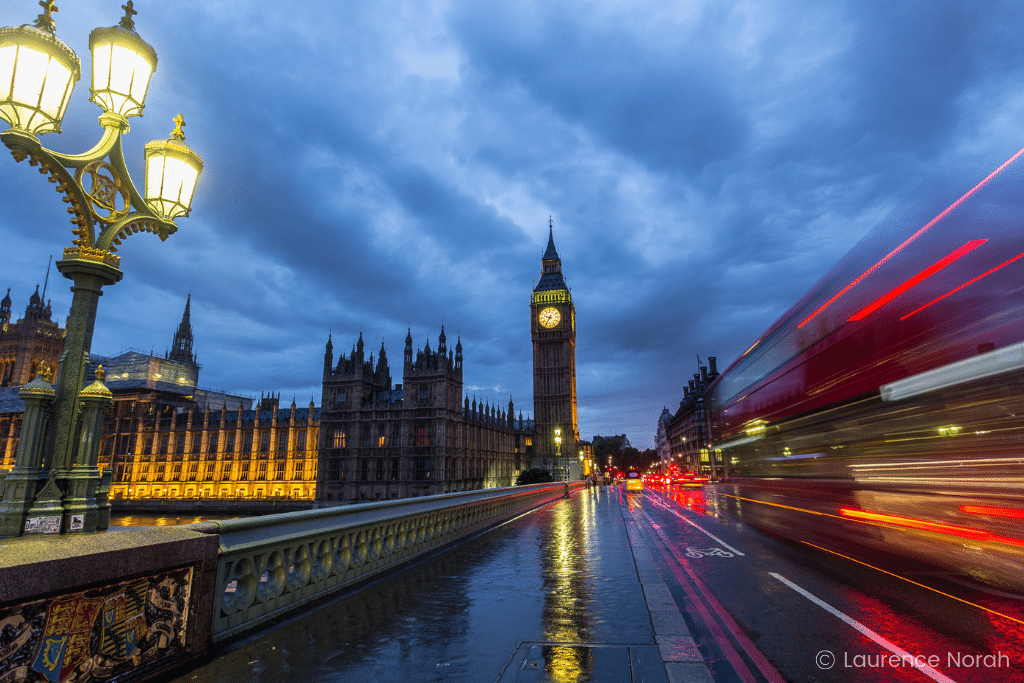
Laurence Norah is a phenomenal travel photographer (as you can see from his Instagram and website, Finding the Universe), in addition to leading an extremely informative photography course I’m fortunate to be a part of. And, his advice is at the heart of what he teaches.
“Learn what those camera settings actually mean.
I often get questions from folks asking me to review their photos because there is something wrong with them like they are too blurry or too grainy. Usually, when I look at the photo information, the image has turned out how it has because one of the settings on the camera wasn’t set appropriately. For example, the shutter speed was too slow, resulting in a blurry image, or the ISO was too high, resulting in a noisy image.
So my first tip is to learn what the three major settings of your camera are, which are the aperture, the shutter speed, and the ISO. Pretty much every camera will let you see these somewhere on the display when you are shooting, and even just having an understanding of an appropriate range for each of these settings can help avoid problematic images.
Then, learn the limitations of your camera and upgrade if necessary.
My second tip links to the first one. I often get asked if something is wrong with a camera because it’s not producing the images folks want. This mostly happens when trying to shoot in particularly challenging conditions, such as low-light situations like night or indoors.
The reality is that cameras can only do so much, and they have to work with the available light. If there’s not much light available, your options are to use a much slower shutter speed (with your camera on a tripod), widen the aperture, or increase the ISO. Sometimes though, even when you do all that, the images won’t be what you want. In that case, the answer might be a new lens (with a wider aperture for example), or a new camera with a larger sensor.
If that sounds like an option, check out my guide to the best travel cameras for some inspiration!”
You never want to miss a shot because you don’t know the appropriate settings off the top of your head. Or worse, look at an image and realize it’s not what you wanted because it’s too blurry or noisy. Familiarizing yourself with your camera and settings beforehand can save you a lot of frustration later!

3. Chase The Light
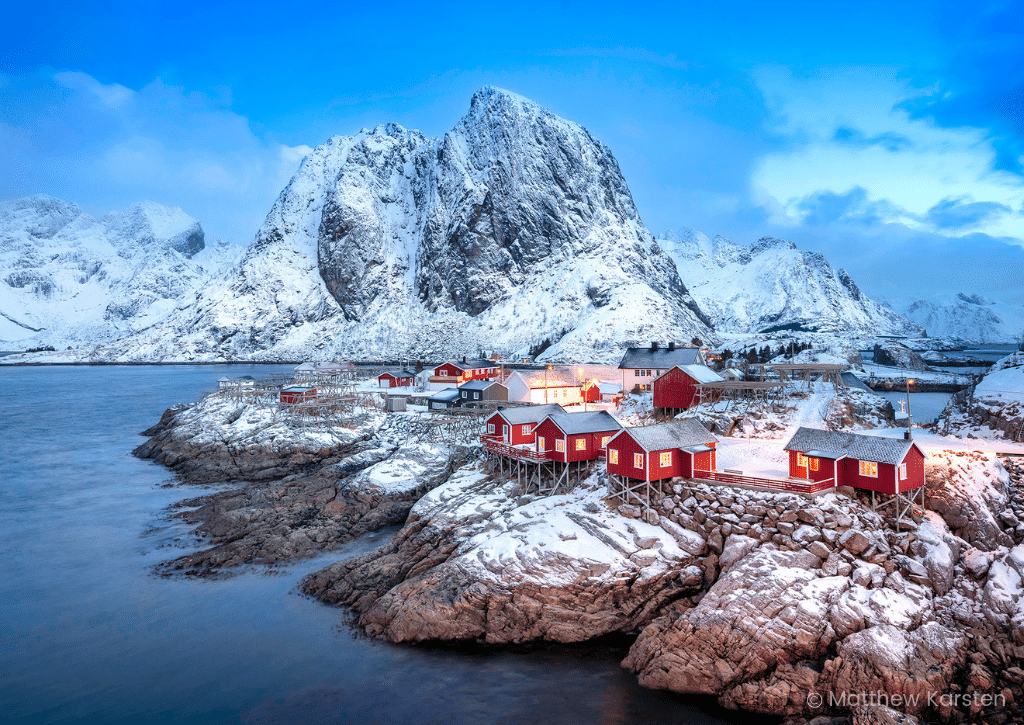
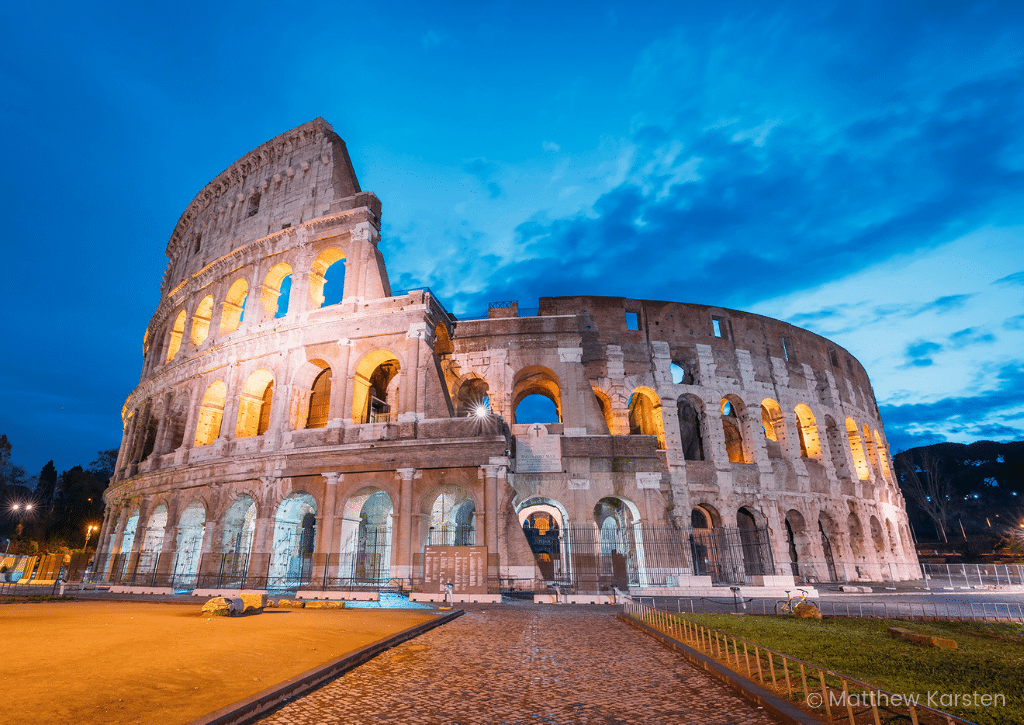
Matthew Karsten is an adventure travel blogger and photographer for the popular website Expert Vagabond. Together with his wife, Anna Karsten from Anna Everywhere, he explores the world sharing travel tips and impressive imagery from every corner of the globe.
When it comes to capturing his remarkable shots, he focuses on finding the perfect light.
“For me, chasing great light is incredibly important for travel photography. Often, this means getting myself to beautiful locations during the ‘blue hour’ (before sunrise, after sunset) or ‘golden hour’ (after sunrise, before sunset). I usually prefer sunrises, though, because there are far fewer people to deal with. Now, you can’t always guarantee great lighting conditions. So, checking the weather beforehand can help you plan your photography outings. Try visiting the same spots more than once if possible too, especially if the light or weather wasn’t great on your first attempt.”
I couldn’t agree more! I’ve never been a morning person, but I always get up before sunrise to take advantage of the softer light for photos. And because I’m one of the only people out at that time, it’s incredibly peaceful.
4. Plan Ahead
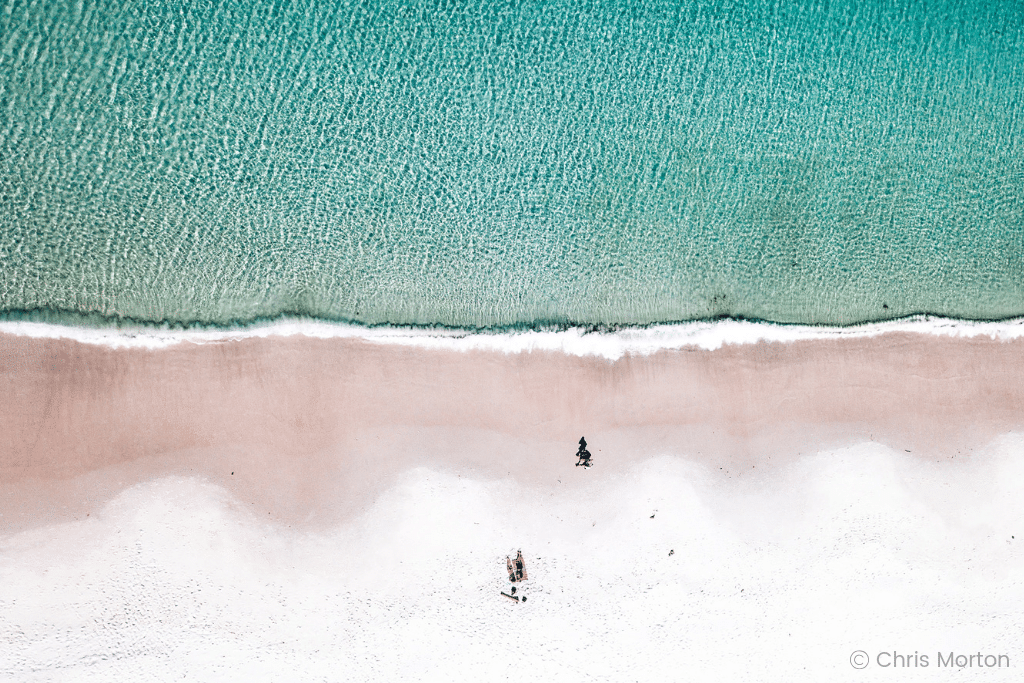
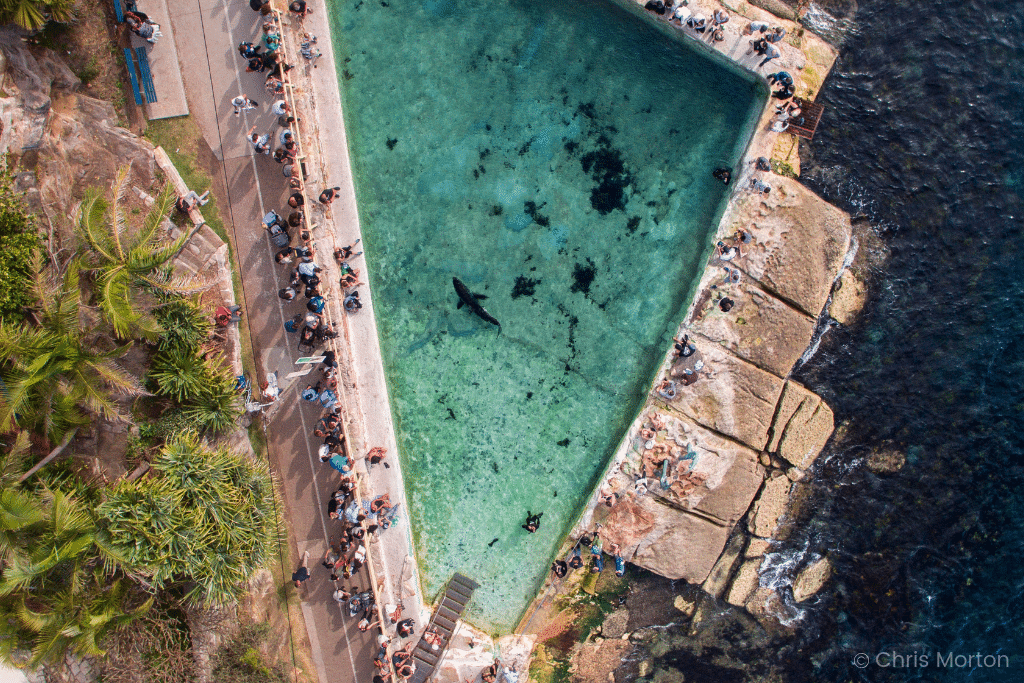
Chris Morton has some of the most stunning aerial photography I’ve ever seen (check it out on his jaw-dropping Instagram!) I happened to meet him on a flight from Bali to Sydney, where he got a kick out of watching me wrestle my belongings back into my carry-on after a surprise inspection.
First and foremost, he says to use the tools at your disposal.
“One piece of advice when it comes to cameras and photography is an anonymous quote coined a long time ago, and it’s become the mantra of most professional photographers – ‘The best camera is the one you have with you!’
I’ve seen plenty of cashed up enthusiasts with all the gear and no idea! I have seen people with an iPhone capture breathtakingly stunning images with nothing more than the tools at their disposal and a bit of creativity and persistence. That being said, in most cases, you will get far better results using a DSLR/mirrorless camera.”
And when it comes to his shots, he meticulously plans ahead of time to ensure he captures a picture-perfect image.
“Always have an idea of what you want to shoot and where it is. Personally, I take an aerial landscape photographer’s approach. I search for hashtags and locations, and I look at what shots people are taking in the places I’m traveling to. Then, I try to capture it with my own style of photography. So if you’ve seen something good, think about how you can improve upon it? Finally, I look at Google Maps’ satellite view and plan my shots according to the time of day, lighting conditions, and weather.”
A little planning can go a long way to get the shot you want. So, do your legwork!
5. Be Prepared
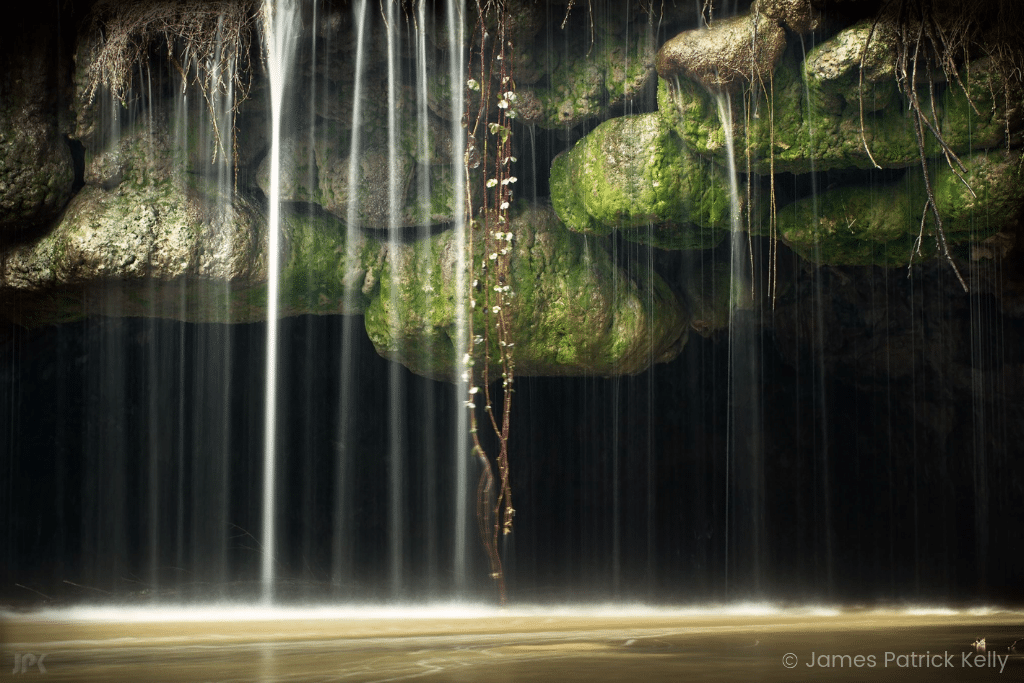
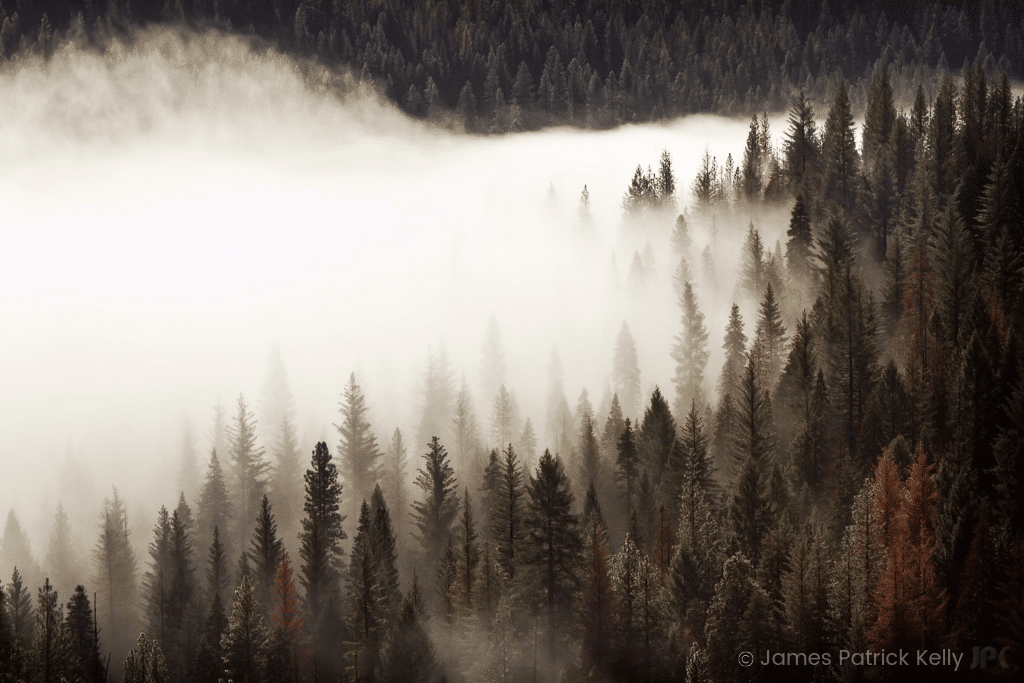
James Patrick Kelly is an amazing landscape photographer and the owner of JPK Presents. When shooting, he says it’s imperative to always come prepared.
“First, buy yourself a cheap tripod and keep it handy. This will allow you to use longer shutter speeds and help compensate for low-light or smaller aperture lenses. Using the camera’s two-second timer will help compensate for having a cheap tripod. Second, always have extra batteries and cards. Once a card has been saved to your computer, put it in your bag and keep it for backup. When you’re ready to use the card, format it with the camera right before you shoot.”
I can relate from personal experience. Dealing with a full memory card or dead battery when the perfect shot presents itself is endlessly frustrating! Do yourself a favor, and always keep a spare.
6. Watch Your Step
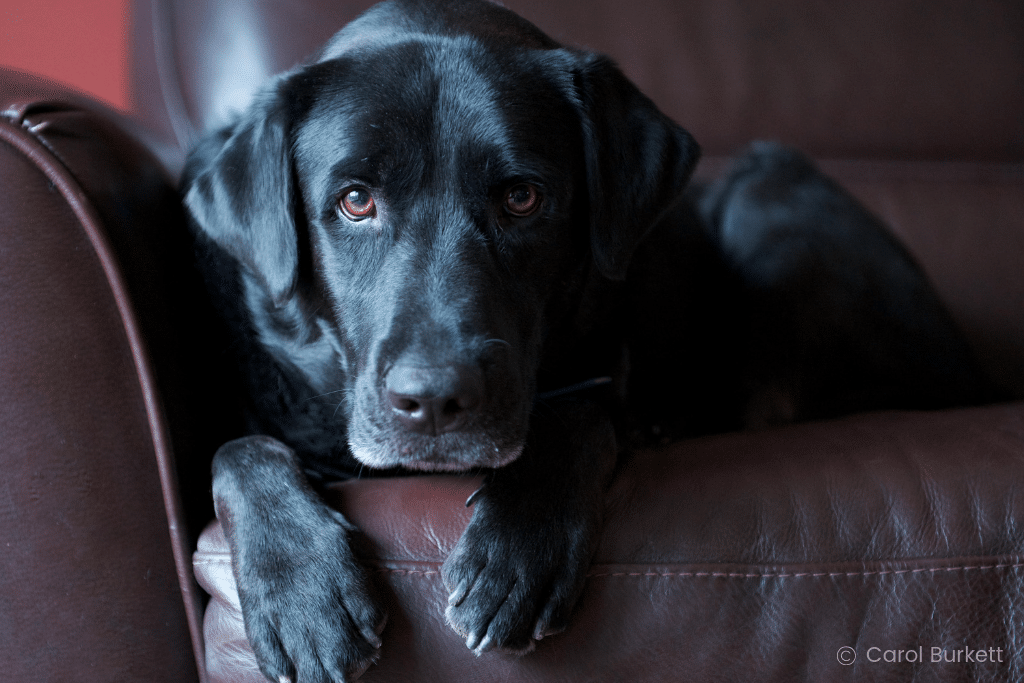
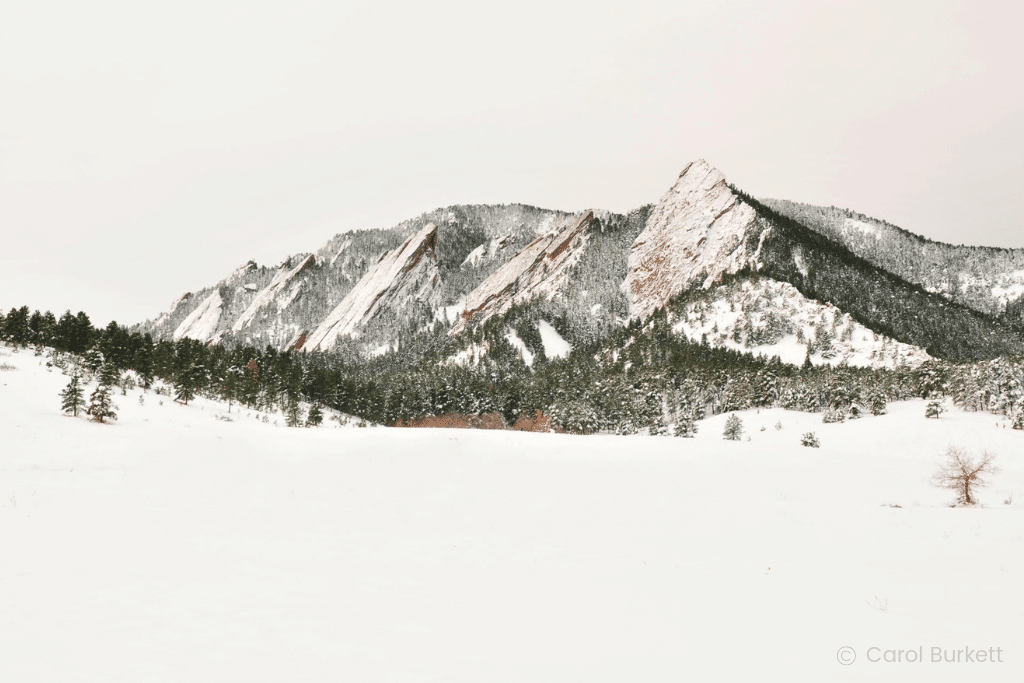
Carol Burkett is a gifted digital photographer and the owner of Superior Imaging. She also happens to be the one who showed me how to use my first DSLR camera! And, in doing so, she showed me a few tricks for long exposure and night photography that I still use today.
“My number one rule of photography – never move your feet while looking through the lens. Moving while having a restricted field of vision can be very dangerous. Especially here in Colorado, where you can fall off a cliff! Always lower your camera and scan the area before you reposition yourself. Be safe!”
Excellent advice for someone like me who tends to be a walking disaster.
So, as you sharpen your skills, don’t forget these tips from expert photographers to make your images even more incredible! With them in mind, you can avoid pitfalls and frustrations, and enjoy capturing the world around you instead.
What are some of your best photography tips? Comment below, I’d love to hear about them!
You May Also Like:
» 10 Tips For Better Photography Composition
» The Simple Basics of A DSLR Camera
» Essential Photography Gear


Leave a Reply