


Remember the old days when you’d stick photos underneath the clear plastic sleeves of albums you purchased in drug stores? When the only creative decision you had to make was what color you wanted the cover to be?
These were also the days when digital cameras weren’t a thing and you had to play a heart-pounding game of Russian roulette with your film development. Hoping against hope that at least a few of the photos would turn out well (after all, you had to pay for them all regardless of how terrible they were!)
My, how times have changed.
Nowadays, there are countless websites you can use to create custom photo albums or compile videos that are as unique as the digital photos you fill them with. And, with endless amounts of customization, you have endless ways to get creative!
So, with a variety of sites to choose from, which is my favorite for creating stuffing photo albums? Shutterfly, hands down!
And, as a resident expert in all things Shutterfly, I have a few tips to help you design your own incredible custom photo album.
Types of Books
When designing an album, you first need to consider the size and style. If you want something dramatic, go with the 12 x 12. It offers an impressive tabletop look that’s sure to wow even the most discerning eye. But if that seems like a bit of a monstrosity, then the 10 x 10 is also fantastic.
Next, you need to decide what type of pages and cover you prefer. Although it’s more expensive, trust me when I say you want the Deluxe Layflat Pages. The thick paper lays completely flat when the book is open, which means you’re not losing detail in the bookbinding (plus, they just feel a whole lot nicer!)
And, for upgraded covers, you have a choice of hard matte, hard with a dust jacket, black cloth, black leather, antique white linen, and genuine leather.
Finally, you can add in a memorabilia pocket (which is great if you want to include special keepsakes like tickets, polaroids, etc in your book).


Idea Pages & Layouts
As you start to build out the pages in your book, it’s sometimes hard to know what you want them to look like. To help get your creative juices flowing, check out the Idea Pages tab! With thousands to choose from in every format, occasion, and color-scheme imaginable, it’s easy to find ones you like!
Once you have them added to your project, make them your own! Use their layouts as a jumping off point for tweaks and adjustments like ribbons, stickers, backgrounds, and text. Before you know it, you’ll have a completely customized masterpiece!
Already a creative genius? Then you can find a more bare-bones format under the Layouts tab. Here, choose which you like based on the number of photos on the page, and you’ll be left with a nearly blank canvas to customize as you wish!

Embellishments
Speaking of customization, there’s virtually no end to what you can do in the Embellishments tab! Add stickers to give your creation some flair, use ribbons to add a little pizazz, and draw more attention to your photos with colorful frames. They’re all great ways to enhance the look of a page!
But, it doesn’t stop there! Flip elements in different directions, expand and contract them, align and layer them, and manipulate each until the book looks exactly the way you envisioned it.

Advanced Editing
I’m pretty OCD, so I’m a huge fan of the Advanced Editing tab. You can use it to align photos and elements on the page, match the sizing of objects (either as a whole, or by width or height), even out horizontal and vertical spacing, and layer objects in front of or behind one another.
Using these tools will ensure your book turns out looking clean and professional.

Personal Details
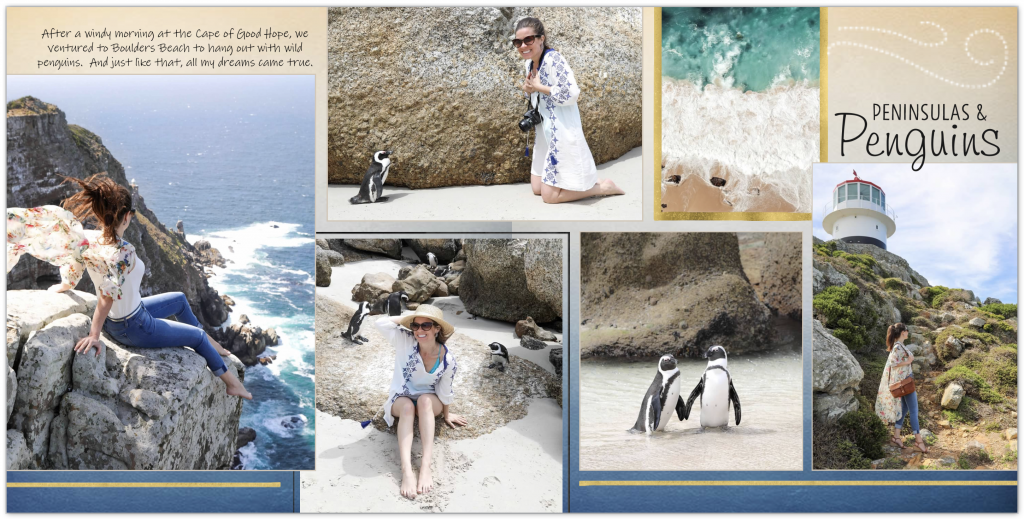
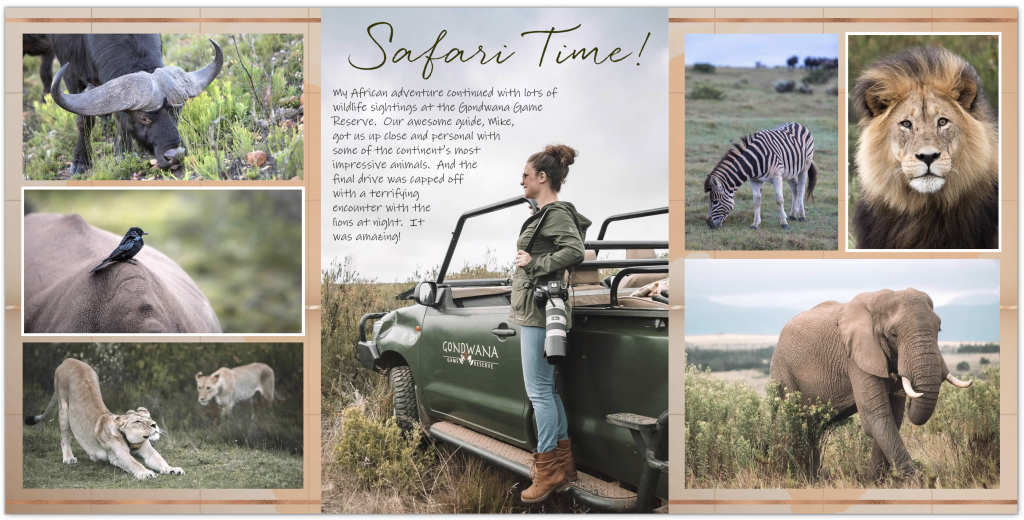
Now make it personal! Add details that will bring back a flood of memories when you flip through the pages. What happened the day you took the photos? How did you feel at that moment? Did someone say or do something funny?
Add it in! Paragraphs, headings, notes, a quick blurb… It all adds depth to a snapshot in time.
And when choosing a font, don’t stop at something boring like Arial (save that for office emails!) Instead, choose one that enhances the page theme or overall book aesthetic.

Track Your Travels
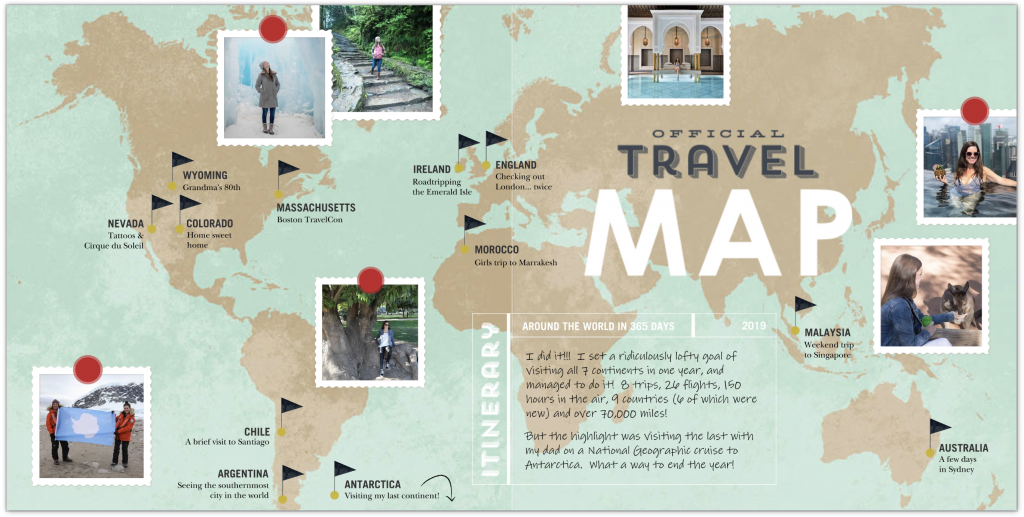
One of my favorite aspects of creating a custom photo album in Shutterfly is the travel map under the Idea Pages tab. It helps track your adventures in a fun, customizable layout complete with snapshots from areas you’ve visited!
I add this spread (the terminology for two pages together) at the end of all my annual albums and absolutely love it!
Eye-Catching Cover
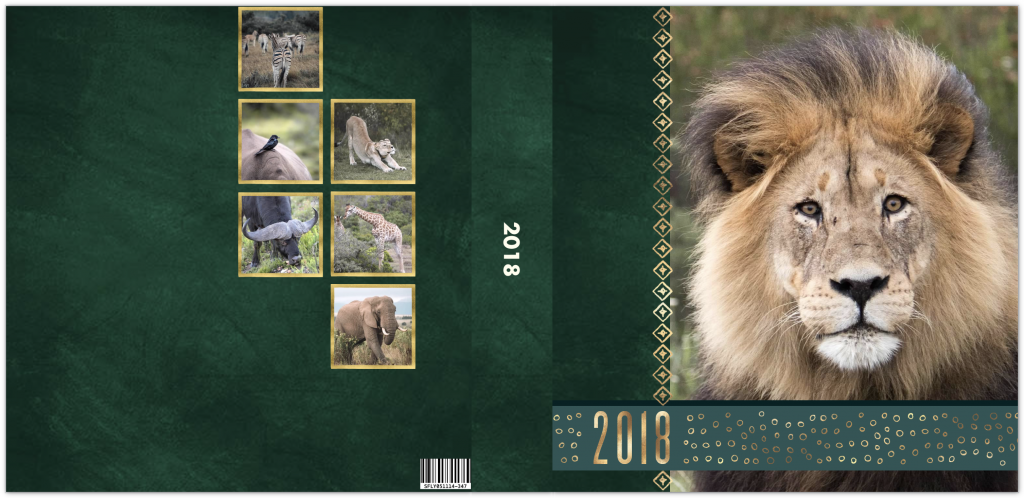
Once your pages are complete, it’s time to create a captivating cover. You want it to embody the essence of what the book is about, in addition to looking fantastic on a coffee table.
Choose from single or multiple images, a complementary background color, and then add in design elements to really make it pop!
And voilà! You have a beautiful custom photo album that brings your images to life!
So, out with the old and in with the new! Ditch the 1983 plastic-sleeve albums of yesteryear and check out the stunning masterpieces you can create in Shutterfly instead!
Do you create photo albums of your trips? Comment below, I’d love to hear about them!
You May Also Like:
» 10 Photo Editing Mistakes To Avoid
» 10 Tips For Better Photo Composition
» 8 Tips For Solo Selfies That Don’t Suck


Leave a Reply