

When it comes to photography equipment, there can be a lot to pack! And, since there’s so much to bring, it’s easy to leave something behind. Before you know it, you’re standing in front of an Ansel Adams’esque landscape realizing you don’t have a memory card.
Facepalm.
That’s why I’ve put together this comprehensive travel photography packing guide! Included is everything you need to ensure you never miss a shot.
Camera Bag
PACK: A camera bag large enough to meet your needs
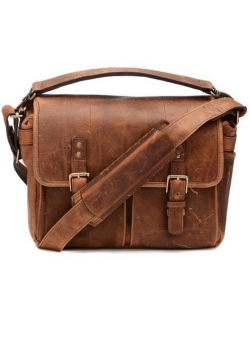
It all starts with the camera bag. It should be large enough to fit your camera and one extra lens (if you’re shooting on a DSLR), as well as some smaller accessories like extra batteries, memory cards, lens wipes, etc.
In addition to its size, it should have padded dividers to keep your equipment from getting knocked around. And, if you use a tripod, get a bag with a tripod holder so your hands are free.
Find out what my favorite camera bags are here!
Expert Tip:
For even more organization, use photography packing cubes and memory card cases!
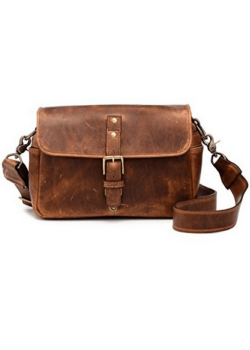
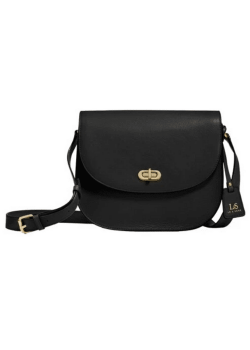
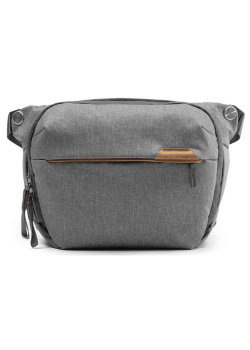
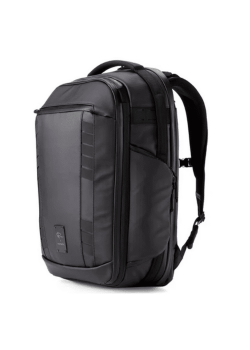

Camera
PACK: The right camera for the environment you’ll be shooting in
The next most important component of any travel photography packing guide is the camera. When deciding what camera to bring, think about where you’ll be and what types of shots you want to capture.
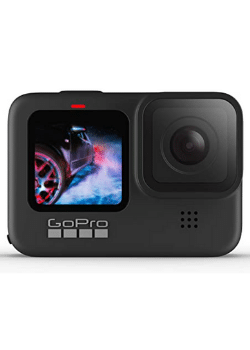
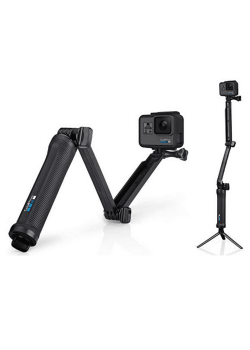
Do you want something highly functional like a DSLR to shoot professional-looking photos? Do you want something with a smaller profile, like a point-and-shoot, to simply snap a few shots on the go? Will you be in extreme conditions like snow or water where you’d need something more rugged like a GoPro? Do you want something fun with a hint of nostalgia, like an instant camera?
Depending on what you’re doing, you may want to pack more than one camera.
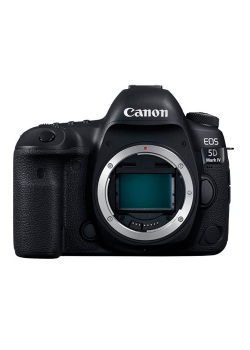
When I travel, I always bring my DSLR (a Canon 5D Mark IV) so I can use a variety of different lenses. Additionally, I may have my GoPro and my Instax Mini (because it’s so much fun!) And, occasionally I’ll use my point-and-shoot (a Canon G7 X) for situations where my larger DSLR is a bit obnoxious.
Expert Tip:
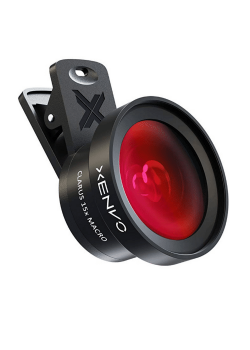
If you’re a die-hard cell phone photographer (like my dad), then using lens attachments is a great idea! They’ll expand your phone’s camera capability to capture really incredible images.



Lenses
PACK: An everyday lens and a wide angle and/or zoom
Much like your camera, when deciding what lenses to bring you should consider what you’ll be shooting.
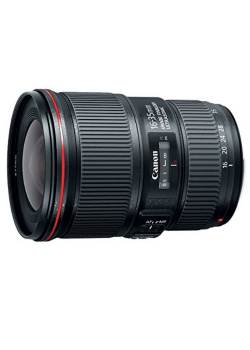
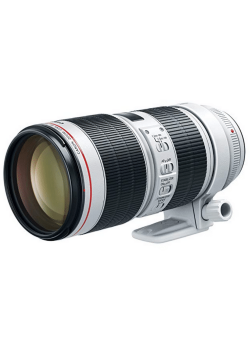
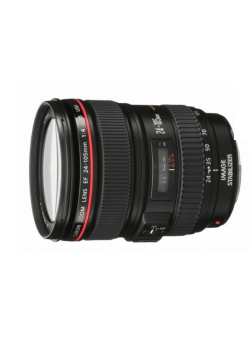
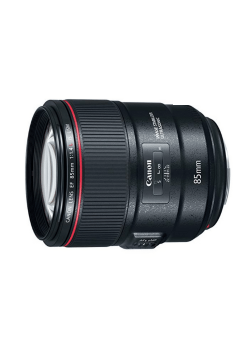
If I want a good everyday lens, I use my Canon EF 24-105mm f/4. For landscapes, I always bring my Canon EF 16-35mm f/2.8 (which, truth be told, may be my favorite). For portraits and a longer zoom, I pack my Canon EF 70-200mm f/2.8 (sure it weighs a metric ton, but the images it produces are outstanding!) And finally, if I want a great prime lens I bring my Canon EF 50mm f/1.2, which is a workhorse with a much smaller profile.
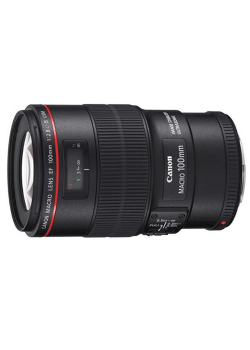
I personally don’t shoot much macro photography. But if you do, I’m obsessed with my Canon EF 100mm f/2.8 Macro lens! I shot a bee hovering over a flower in South Africa with it and you could see each individual hair and speck of pollen on its back!
Expert Tip:
While their price point is higher, I prefer Canon’s EF line because they’re more durable (which comes in handy when photographing in harsh conditions).
In addition to your lenses, you should always have a filter to protect your glass. For normal shooting, I recommend a UV filter, which not only protects your lens but also cuts down on haze. For bright environments or slower shutter speeds, I recommend an ND filter or a variable ND filter.
And yes, price matters when it comes to purchasing a filter! Don’t spend $1,000+ on a lens and then throw a $10 filter on the front or your images will suffer. Stick with brands like B+W, ProMaster, and Tiffen for the best results.

Tripod
PACK: A compact tripod sturdy enough for your camera
It’s a hassle to lug around a tripod. Trust me, I get it. But if you really want to capture jaw-dropping images, it’s a must.
Without a tripod, you’ll find it difficult to get sharp images without any shake. And forget about night photography or anything that needs a slower shutter speed!
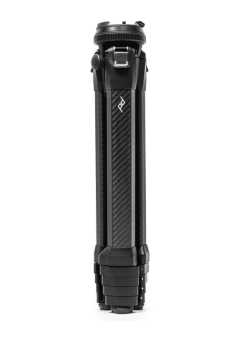
There are plenty of tripods out there that are compact, versatile, and extremely light. I own several, but the one I recommend the most is my Peak Design Travel Tripod. If it’s possible to have an emotional attachment to a piece of camera equipment, then it would be to this. The tripod’s intuitive design is unmatched and its many bells and whistles make it an absolute pleasure to use.
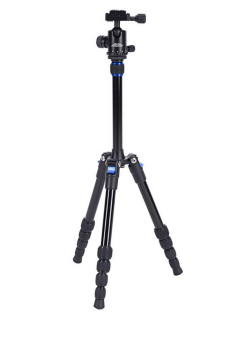
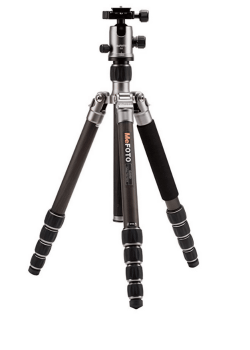
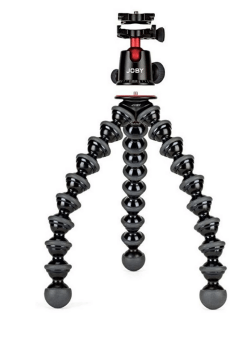
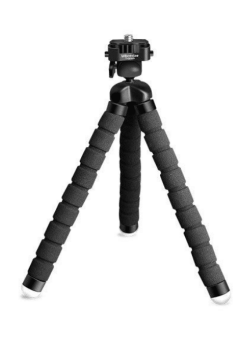
If the Peak Design is a little outside your price range, then I also recommend my Davis & Sanford tripod. It’s surprisingly compact and extremely easy to maneuver. And, if you’re shooting on a smaller camera (such as a GoPro or a point-and-shoot) then Joby GorillaPods are the best! You can prop them up anywhere, or bend the legs to grip onto trees, poles, you name it!
Accessories
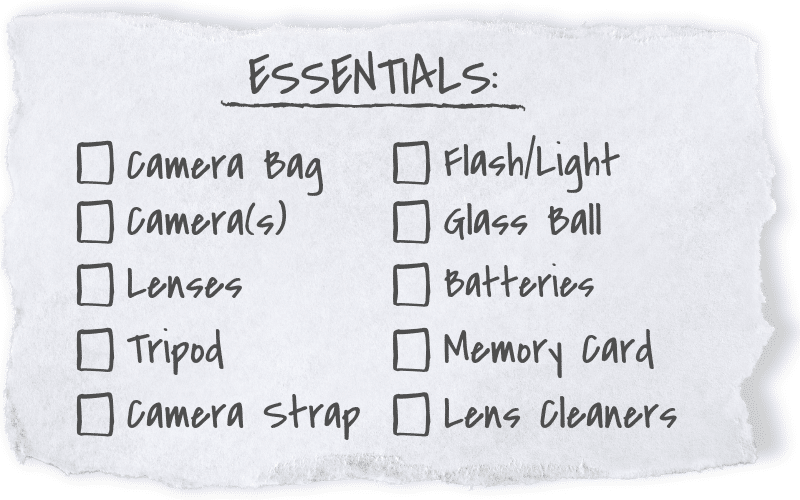
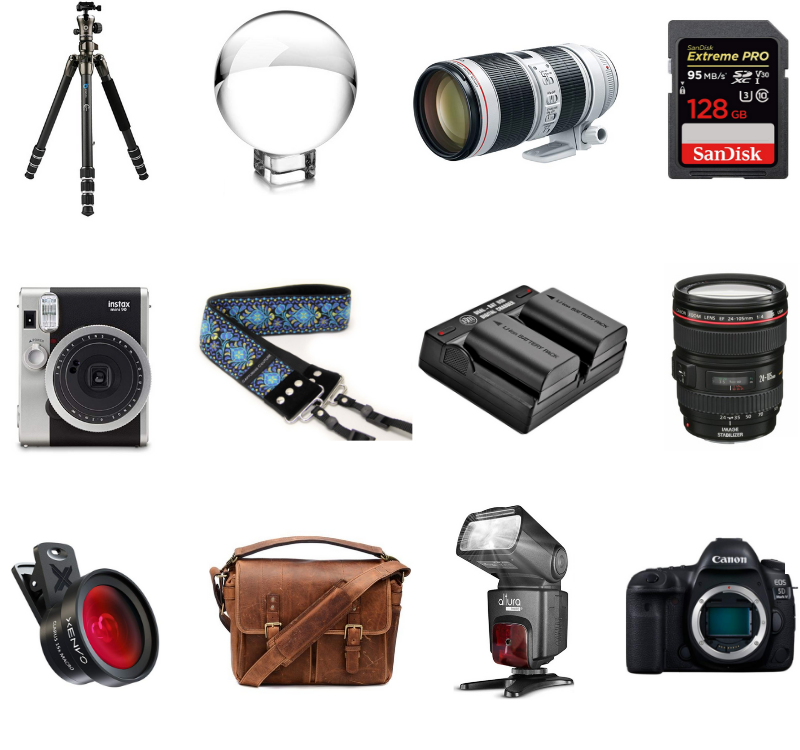
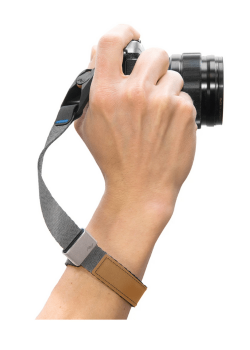
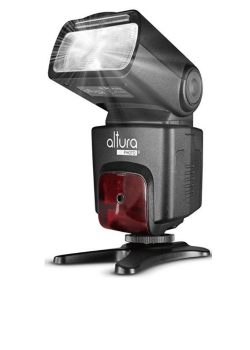
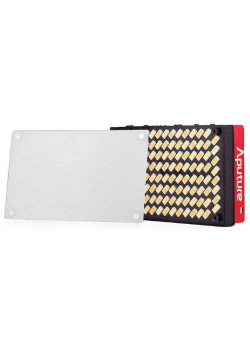
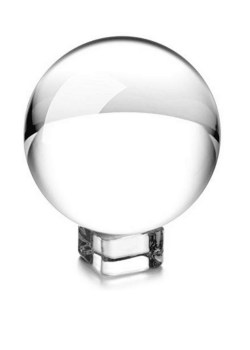
PACK: Camera strap, flash/light, glass ball, batteries, memory cards, lens cleaner
Now that you’ve packed the basics, it’s time to move onto accessories! Some of the most important include extra batteries with a charger, spare memory cards, and lens cleaners. Never leave home without them!
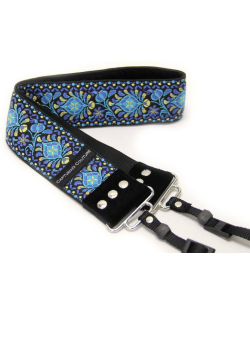
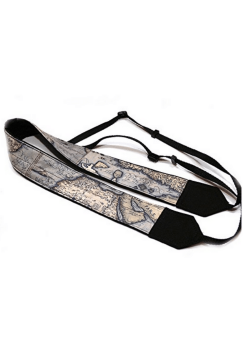
Then you can move on to more fun accessories like a decorative camera strap (practical and cute), and a flash or external light. Feeling arty? Don’t forget a glass ball to incorporate into your photo composition!
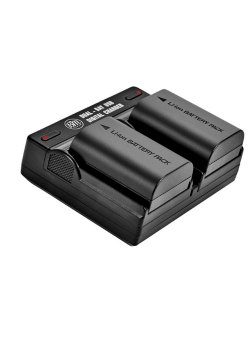
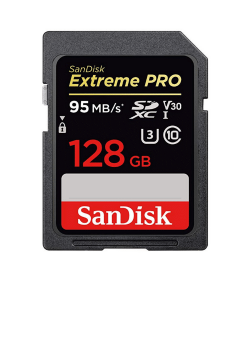
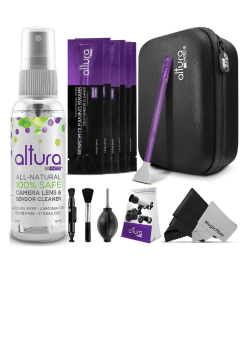
And there you have it! The ultimate travel photography packing guide so you’ll never leave home without the essentials again!
Do you have camera gear that you can’t live without when you travel? Comment below, I’d love to hear what it is!
You May Also Like:
» The Basics Of How To Use A DSLR Camera
» Iconic Photo Locations Around The World
» Incredible Tips From Expert Photographers

Leave a Reply